Skip to content
Sign up for a free recipe e-book →
STEPHANIE'S SLICE OF LIFE
Search
Blog Feed
Recipes
COOKIES
COCKTAILS
CAKES
CRAFTS
DINNERS
BRUNCH
BREADS
DESSERT BARS
SIDE DISHES
PIES
PUDDINGS
SALADS
APPETIZERS
SOUPS
SCONES
MUFFINS
DESSERTS
HOLIDAY TREATS
Local food/fun favs
MAINE FUN
REPURPOSING
WILDLIFE PHOTOGRAPHY
PHOTOGRAPHY
SAUCES
Category:
Cakes
Fruit Cake
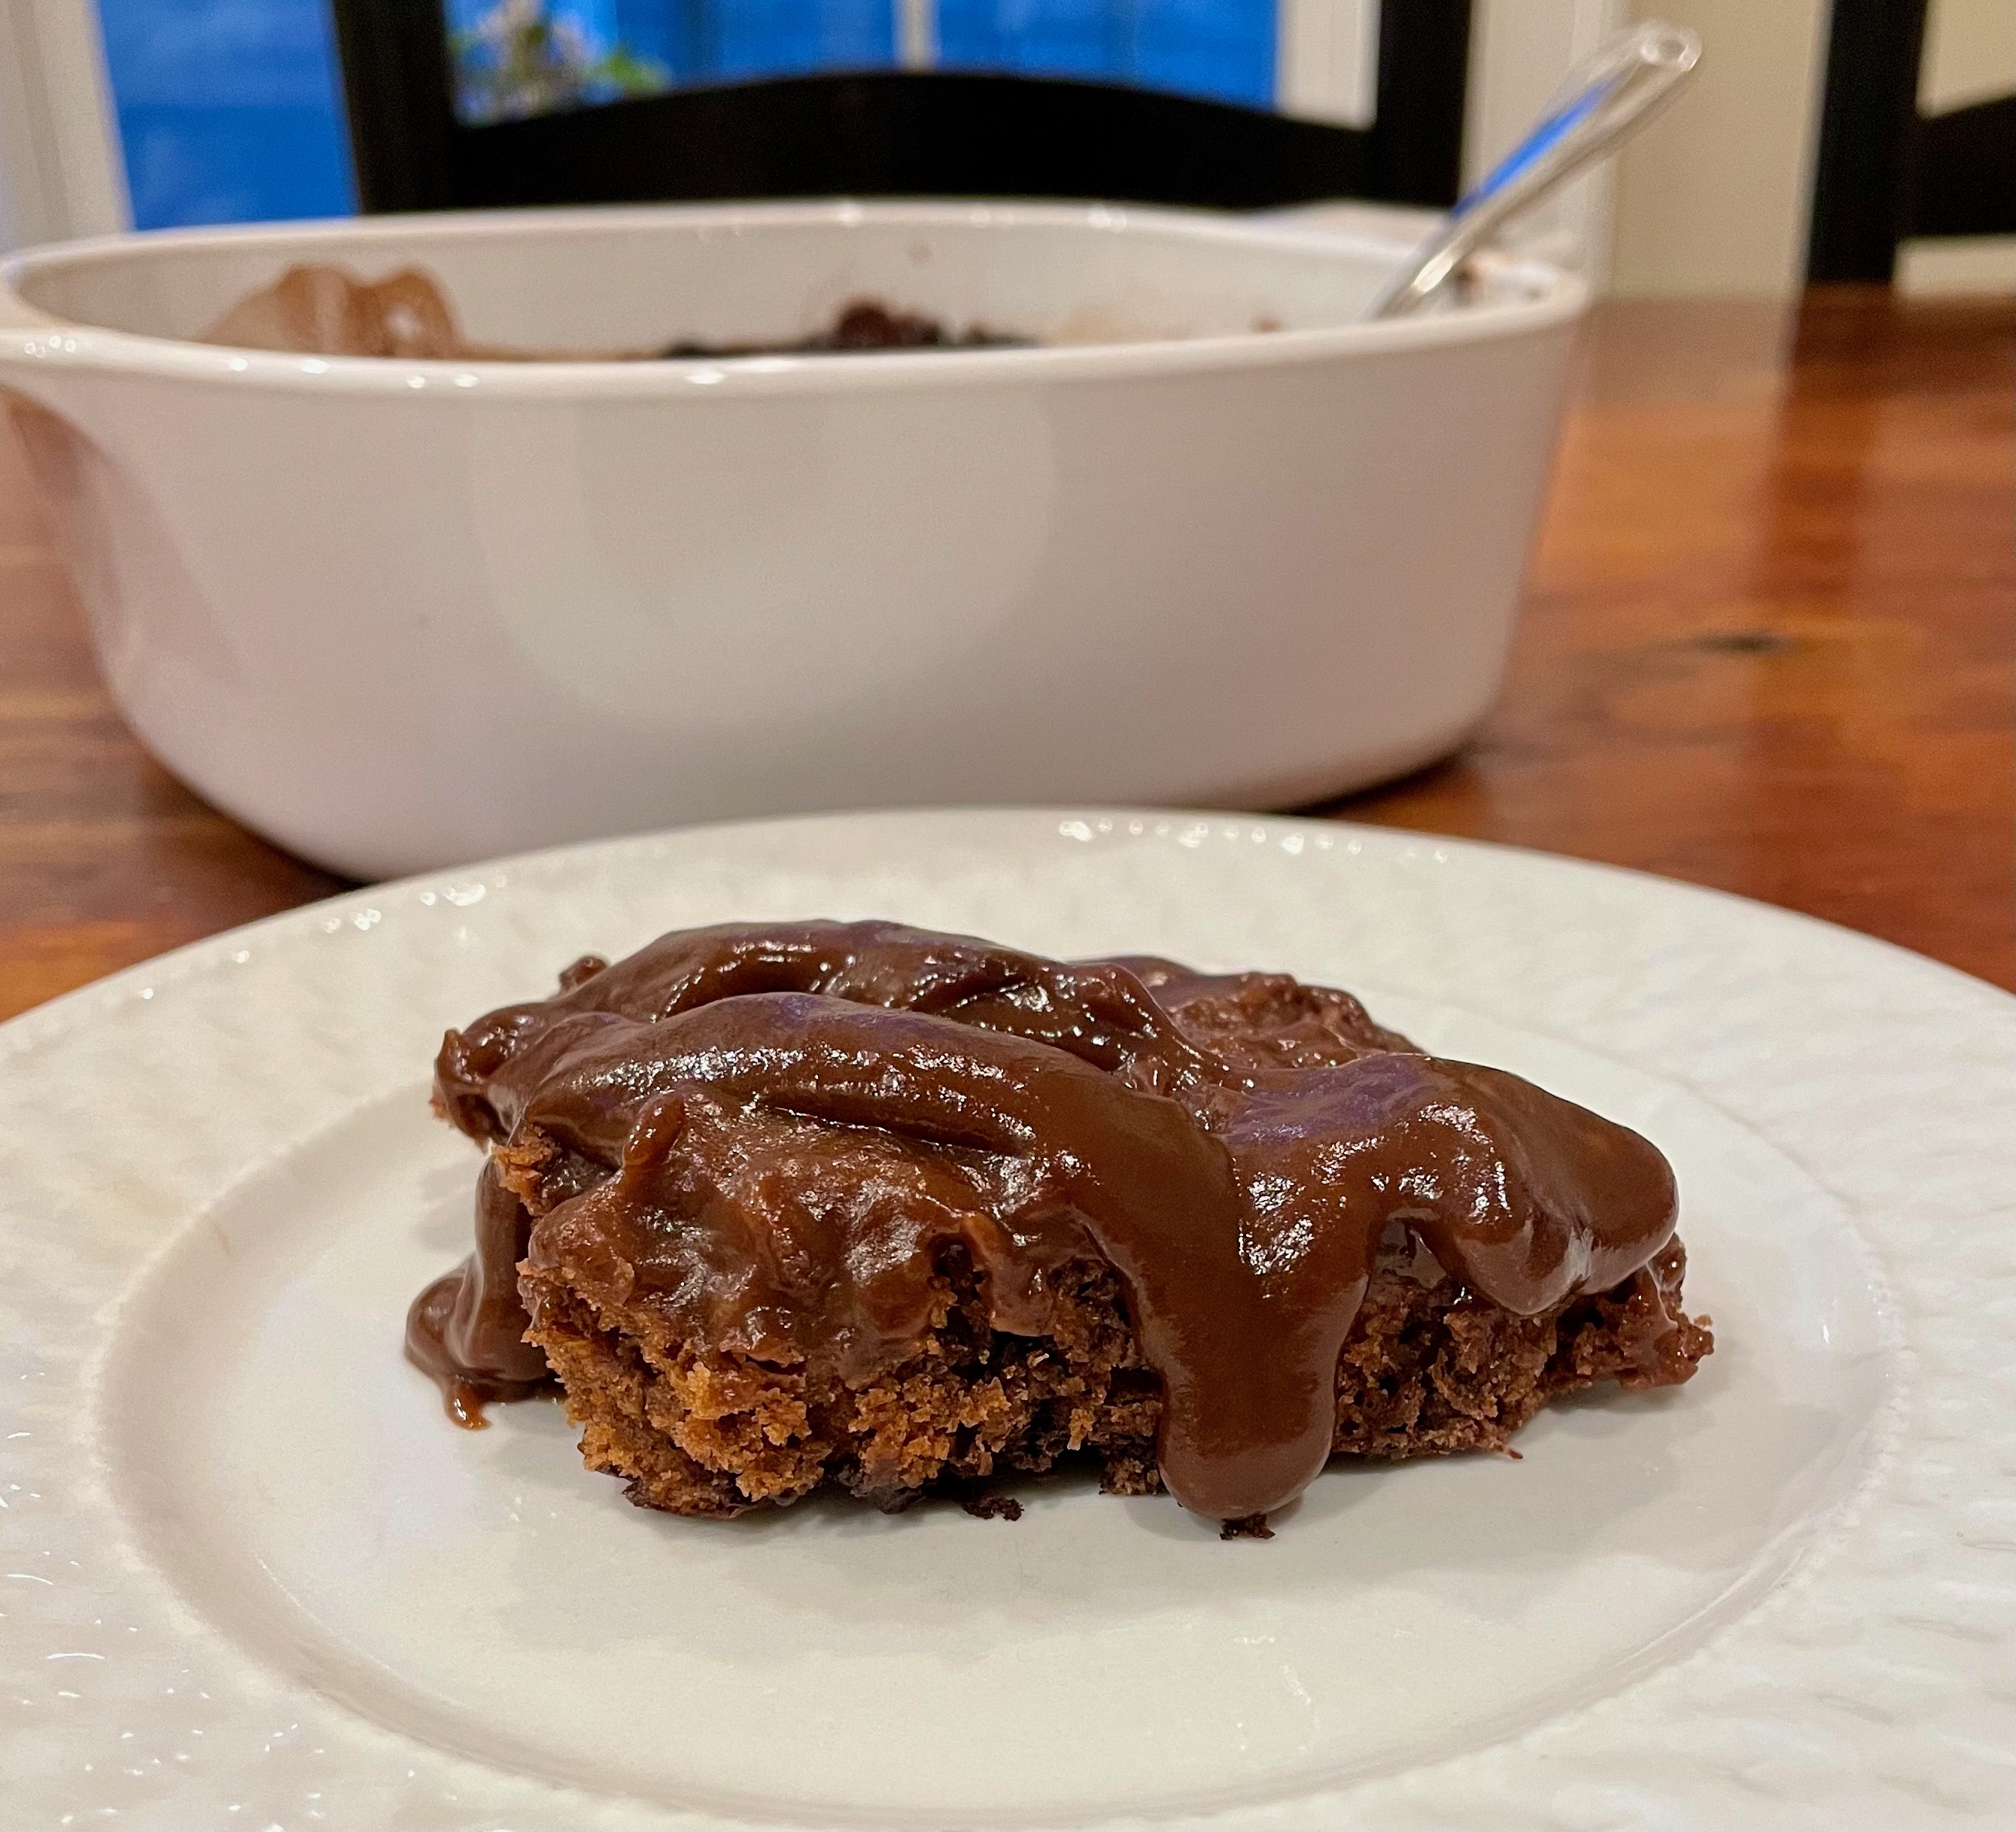
Hot Fudge Pudding Cake
Boston Cream Pie
Pineapple Upside Down Cake
Hummingbird Cake
Chocolate Mint Cupcakes
S’Mores Cupcakes
Lemon Cake with Lemon Buttercream Frosting
Chocolate Buttercream Frosting
Robin’s Nest Coconut Cake With Cream Cheese Frosting
Next Page
Loading Comments...
Write a Comment...
Email (Required)
Name (Required)
Website