Stephanie’s Slice Of Life

Welcome to my Blog!
My name is Stephanie and I was born, raised, and still live just outside of Boston. I’m the mother of two children and I own a very small antique business, as well as a baking business. I love and appreciate all things old, whether antiques or architecture, and love to give items new life by repurposing.
I love food, too much, and I get immense joy from how my food can make others happy. One of the best compliments I have ever received was my daughter telling me that my cooking has ruined everything else for her. I’ll take that!
I’m much more of a baker than I am a cook. Not that I don’t like cooking, I just wish I didn’t have to do it every day. I’d much rather cook when I feel like it. But, since I don’t have a personal chef and my family is picky about eating every day, here I am. Part of the motivation behind this blog is not only to give me someone to talk to during the day other than my dogs, but to be able to share some of the recipes I’ve tried and really enjoy. My blog may not look as professional as some, but you will notice there are no pop ups or ads. I am not writing this blog to make money, just to share and hopefully become a site you frequent.
My favorite cookbook is my mother’s Betty Crocker cookbook that she received as a wedding present back in 1969. I had been using the one my mother gave me as a wedding present in 1998, but now I have been enjoying the “vintage” recipes more. I also love reliving my childhood with Boston Cream Pie, Chicken Croquettes, and Rice Pudding, to name a few. It tends to be my “go to” for many recipes, and I am on a quest to try as many as I can, #stephandbetty.
I also love to take pictures of nature, wildlife, architecture, and every day things that just make me smile.


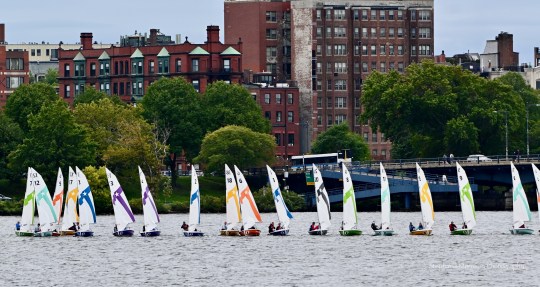
You can see more of my photography on my Instagram page, https://www.instagram.com/stephaniessliceoflife/, and you can purchase prints and other items on my Redbubble page,https://www.redbubble.com/people/swmorrison/shop?asc=u&ref=account-nav-dropdown
if you like my posts I hope you would give me a follow. So this blog is just going to be about “my slice of life” and I hope you’ll enjoy some of it!